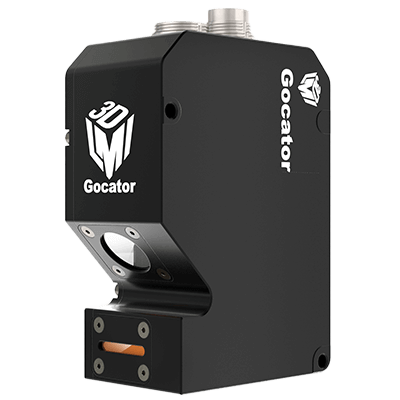
What Is Laser Scanning?

Laser scanning is a technology that measures the three-dimensional shape of an object. It can also refer to a suite of applications including laser scanning.
Laser scanning systems can be operated via a browser by connecting a LAN cable to the device, enabling remote adjustment of device settings and image processing.
This method, compared to binocular stereo vision and other laser methods, achieves higher distance accuracy with simpler mathematical processing. However, for high-resolution and real-time imaging, scanning the projected light and capturing images at high resolution is necessary.
Due to its potential in accurately measuring and inspecting three-dimensional objects, laser scanning is a subject of active research and development.
Uses of Laser Scanning
Laser scanning has diverse applications across various industries, such as automotive, shipbuilding, and manufacturing.
In the automotive industry, it’s used for measuring the shape of auto parts and molds during the inspection and prototyping phases. It aids in shape inspection to ensure parts conform to design specifications and in prototyping for accurate data measurement.
In shipbuilding, laser scanning is vital for precise measurement of components like ship propellers during casting and cutting processes. It ensures accurate final product inspections by measuring the overall shape of objects. In these processes, parts such as ship propellers are measured at every stage of casting] and cutting.
Additionally, in manufacturing, particularly in soldering processes, laser scanning helps inspect for defects like insufficient or excessive solder and blowholes by analyzing the external shape.
Principle of Laser Scanning
The core technology involves an optical cutting method where a laser beam is projected onto an object, then diffused and reflected. The reflected light is captured by a CMOS sensor to form an image, providing details about the object’s height, shape, and position.
Traditional laser scanning methods involved separate devices for emitting slit light from a laser light source and capturing the reflected light. These images were initially monochromatic.
As the demand for precision in object measurement increased, integrated systems combining laser scanning with other technologies emerged, enabling more stable and accurate inspections. Recent advancements also allow for color data display, enhancing visibility and analysis.
Modern laser scanning applications are designed for flexible equipment setting adjustments, catering to various conditions and contributing to labor savings and enhanced inspection quality in production processes.
History of the Optical Cutting Method
The optical cutting method was first explored in the early 1970s at the Electrotechnical Laboratory in Japan and Stanford University in the USA. It laid the groundwork for pattern recognition research and vision robotics in Japan.
General Motors Corporation of Canada was the first to apply slit light projection, a type of optical cutting method, in foundry assembly plants. Here, objects on conveyor belts were detected using slit light and line sensors.
In the late 1970s, light began to replace radio waves in image measurement, although initially considered challenging due to the high speed of light and radio waves.
Classification of Optical Cutting Methods
Optical cutting methods fall into two main categories: passive and active. Passive methods include stereo imaging, while active methods encompass optical laser, optical cutting, photometric stereo, focus adjustment, and contour measurement methods.
Among these, the optical cutting method is further divided into spot light, slit light, and pattern light projections. Spot light projection is a non-video method, while pattern light projection is a video method. Slit light projection encompasses both categories.